Preparation and Planning
Walk Through Each Room with a Critical Eye and Create a Shot List
The first step in staging your home for professional photos is to meticulously walk through every room with a critical eye. This allows you to identify areas of improvement and envision the best angles for photography. Start by noting down what each room’s strengths and weaknesses are. Documenting these observations will help you devise a comprehensive shot list, detailing specific viewpoints and items to focus on. For more tips on achieving exceptional home staging results, visit our what is home staging page to learn more about the process.
Schedule Photography During Optimal Natural Lighting Conditions
Natural lighting plays a crucial role in the quality of your photos. Capturing the essence of your home under the best lighting conditions can significantly elevate the appeal of the images. The golden hour—approximately 60 minutes after sunrise and before sunset—is often considered ideal for natural light photography. Scheduling your photography session during these times can ensure softer, diffused lighting that enhances the warmth and openness of your home.
Gather Necessary Cleaning Supplies and Staging Materials
Preparation is key for a successful home staging. Assemble all the cleaning supplies you may need, including glass cleaners, dusters, vacuum cleaners, and surface disinfectants. Cleanliness is paramount, as even the slightest dirt can be glaring in high-definition photographs.
Additionally, gather staging materials such as neutral-coloured throw pillows, fresh flowers, and other decorative items. These elements can help add texture and depth to various rooms without overwhelming the space. Having these materials ready will save time and facilitate a smoother staging process.
After ensuring that all preparations are in place, you are ready to move on to the staging principles. This involves thoughtful arrangement and design, aimed at making your home photographically appealing.
General Staging Principles
Design for the Camera’s Perspective
When staging a home for professional photos, the primary goal is to showcase each room in its best light from the camera’s perspective. This approach often contrasts with how one might arrange a home for daily living. Begin by considering the angles from which photos are typically taken. Position key furniture pieces and decor to highlight spaciousness and functionality. Avoid placing furniture flush against the walls; instead, float pieces towards the centre to create inviting conversation areas. This technique adds depth, making the space appear larger and more dynamic.
Ensure Consistent Lighting Temperature
Lighting is a critical aspect of staging, as it can dramatically affect the atmosphere of a room. Achieving a consistent lighting temperature throughout the home is essential. Aim for a neutral white light in the range of 3500K-4100K, which is ideal for photography as it accurately represents colours. Ensure all light bulbs emit the same colour temperature to avoid jarring contrasts that can distract from the room’s appeal. Natural light is particularly flattering, so maximise its use by scheduling photography sessions when sunlight is at its best, typically early morning or late afternoon. For more staging tips, check out our videos page to see our approach in action.
Remove Personal Items and Declutter All Spaces
Depersonalisation is key to allowing potential buyers to envision themselves in the space. Remove all personal items, such as family photos, personal care products, and unique memorabilia. This neutralisation helps prospective buyers focus on the home’s features rather than the current occupants’ lifestyle.
Decluttering is equally important. A clutter-free home appears more spacious and welcoming. Employ strategies such as the 12-12-12 rule: find 12 items to throw away, 12 to donate, and 12 to return to their proper place. Begin with common areas and gradually work through each room, focusing on creating clean, open spaces that highlight each room’s purpose and features.
Finally, ensure that all rooms maintain a cohesive design theme. Stick to neutral colours and simple decor to appeal to a wide audience. Consistency in decor style throughout the home helps create a harmonious flow that enhances the overall impression of the property.
These principles will help ensure that your home is presented in the best possible light, making it more appealing to potential buyers. As you finalise your staging, remember to maintain a critical eye and keep spaces neutral, clean, and clutter-free, setting the stage for captivating photographs.
Living Areas
Floating Furniture for Conversation Areas
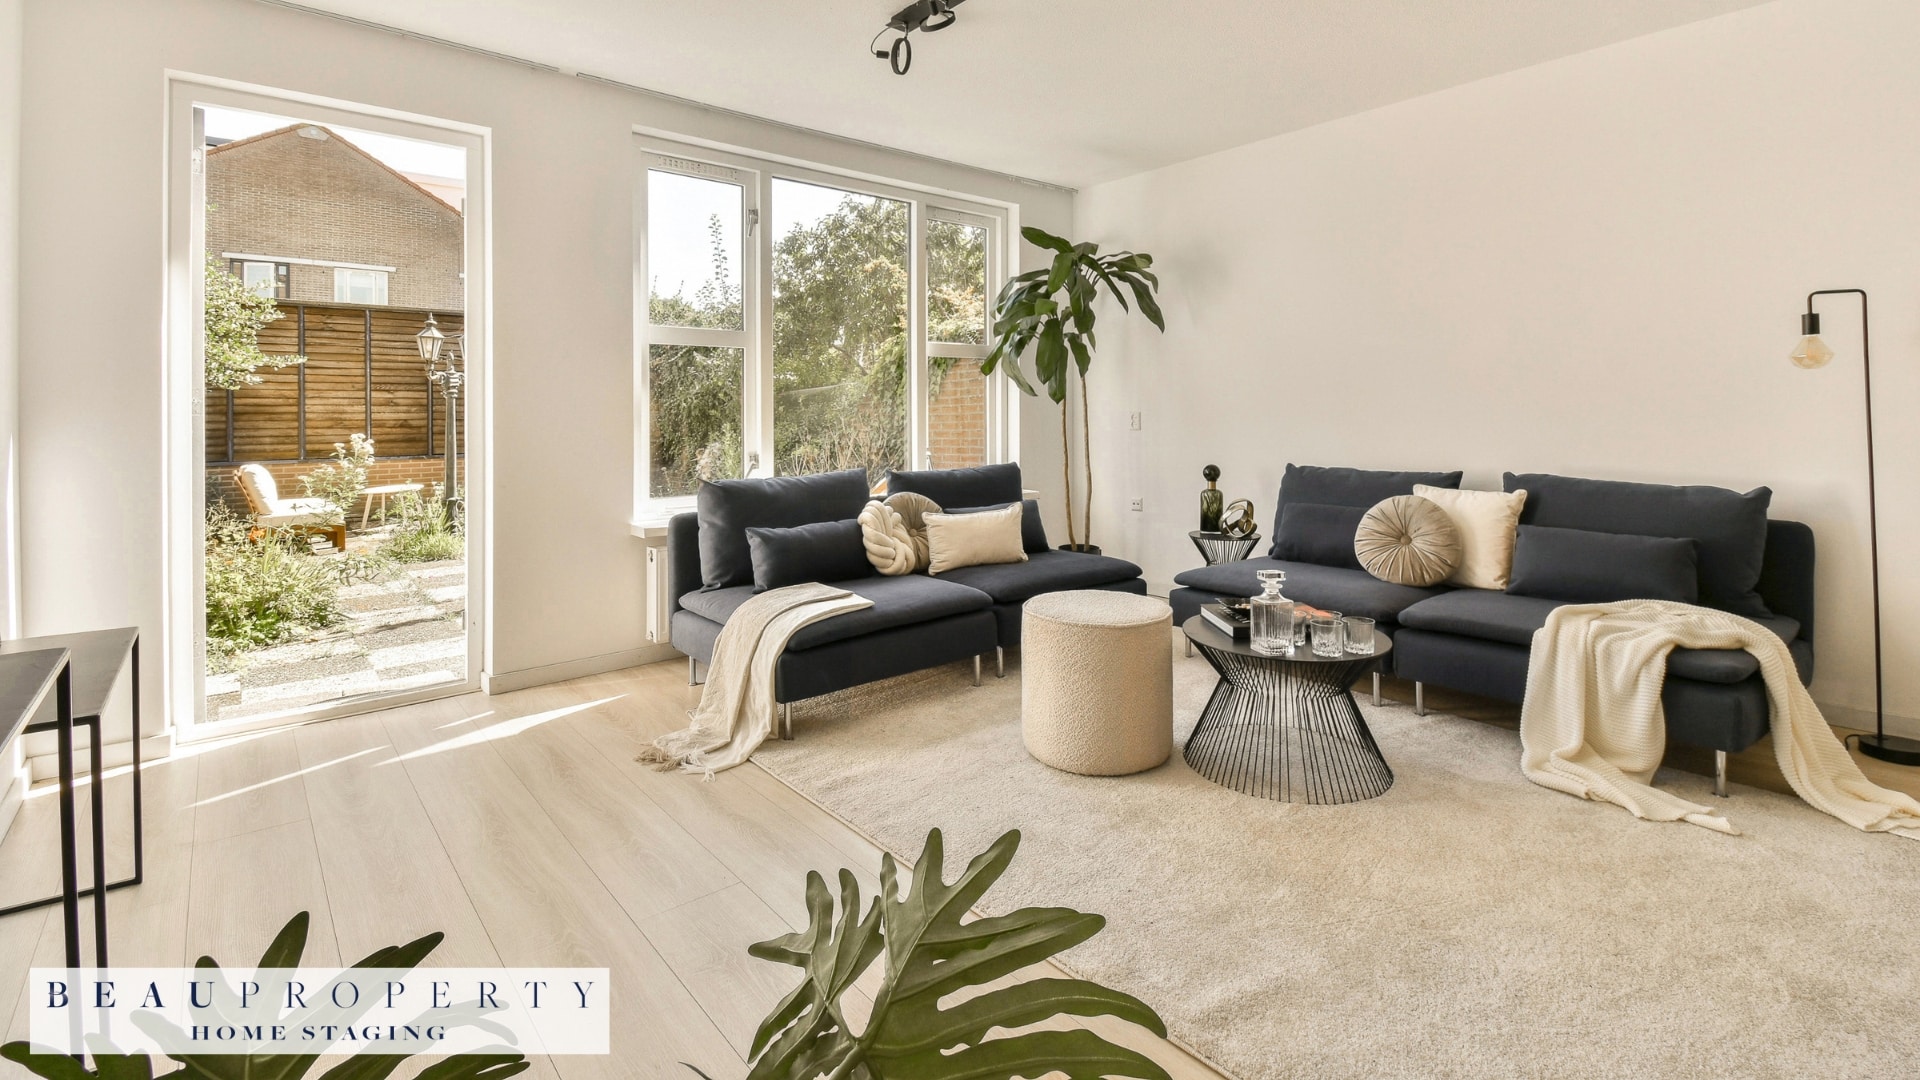
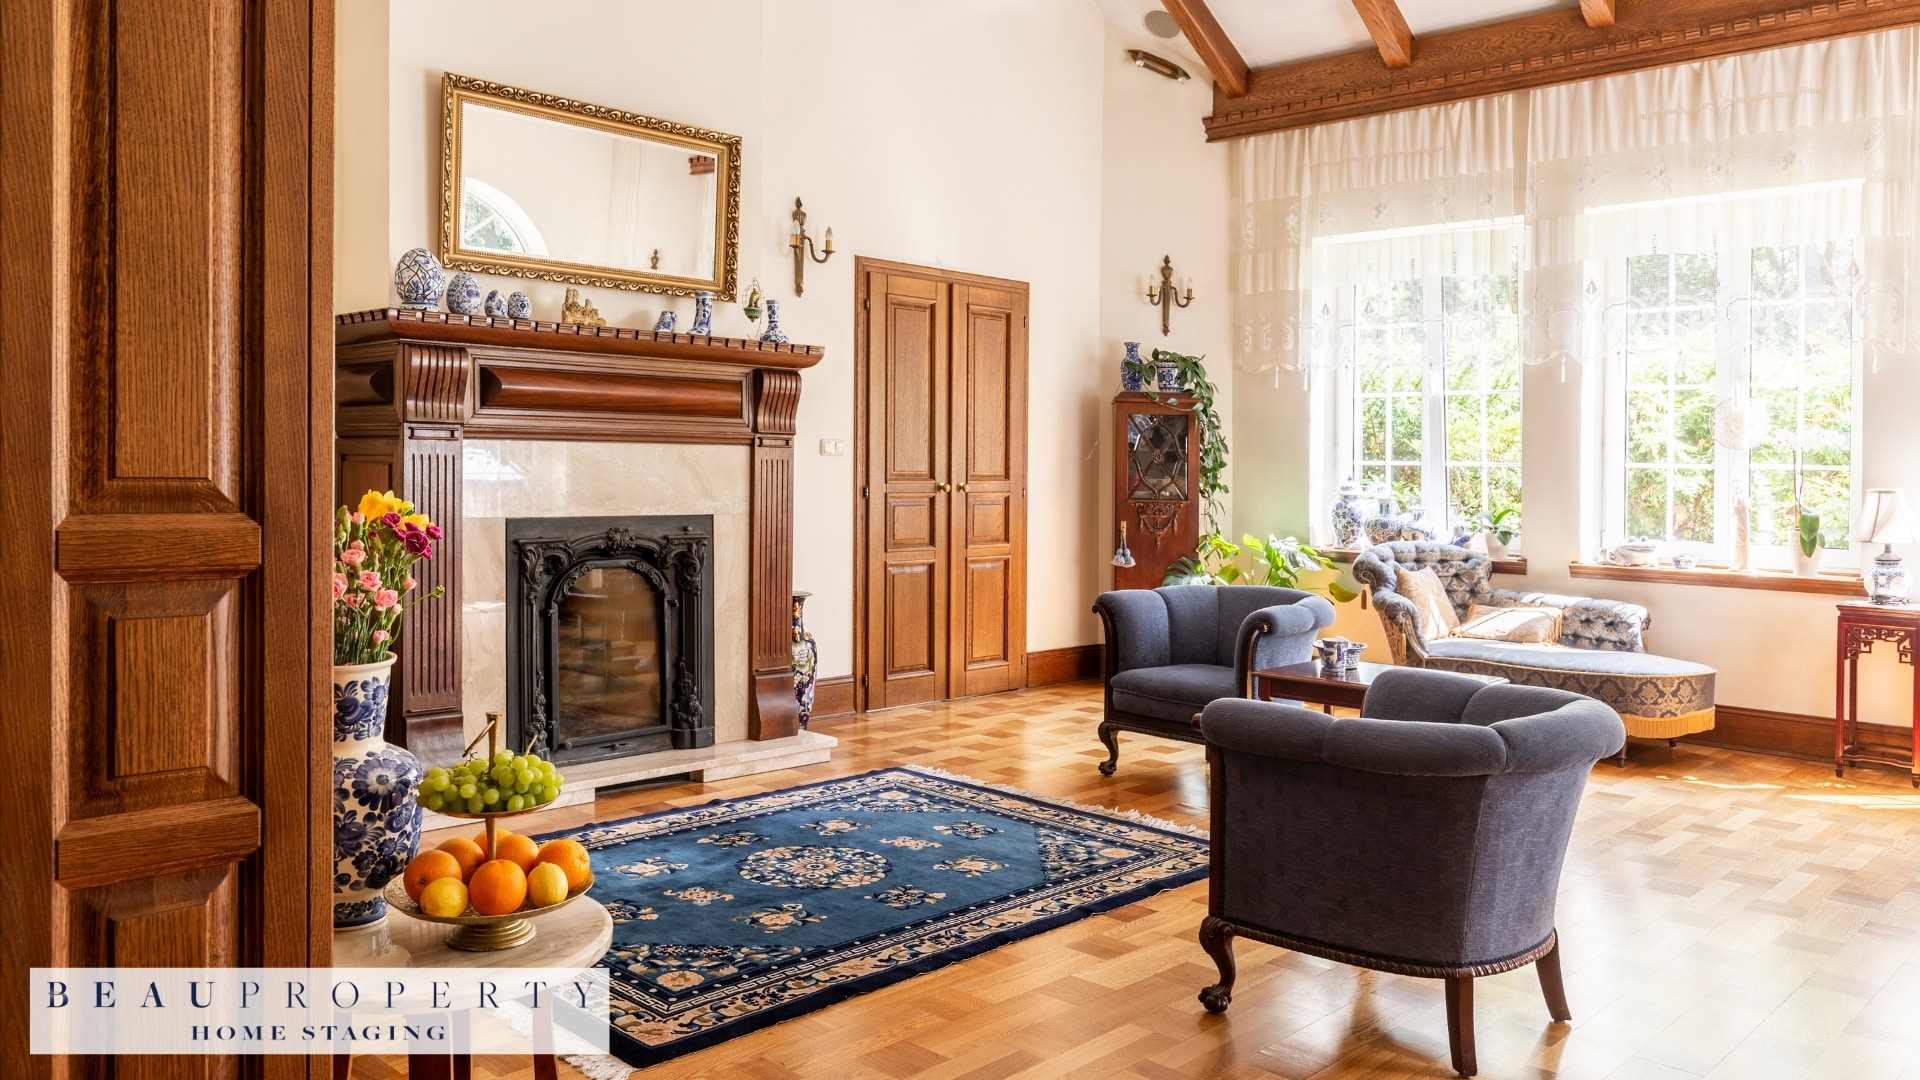
Staging the living room effectively is about ensuring that the space appears both functional and inviting in photographs. A key tactic is to float furniture away from walls to create conversation areas. Floating furniture means placing couches, chairs, and tables centrally rather than lining them along the edges of the room. This arrangement promotes a natural flow and makes the space appear more open and welcoming. It also highlights the room’s capacity for hosting and socialising, which is highly appealing to potential buyers.
For example, repositioning sofas and chairs into cosy conversational groups, and making the traffic flow in the room obvious, can make the space feel user-friendly and larger.
Adding Texture with Design Elements
Textures play a crucial role in home decor by adding visual interest and a sense of depth to the space. Strategic use of throw pillows, blankets, and rugs can introduce layers and dimension, making the living area feel warmer and more appealing. Texture benefits a room by offering “visual weight” and balance, helping to draw attention to specific elements and creating a dynamic viewing experience.
Additionally, using a mix of materials like velvet, linen, and wool can make photos more engaging by showing off the tactile qualities of the room. Texture creates movement in a room, allowing the eye to be attracted to different aspects of the decor.
Ensuring Symmetry and Balance
Symmetry in furniture arrangement provides a sense of order and balance, which is aesthetically pleasing and easy to photograph. Achieving symmetry can be as straightforward as ensuring pairs of items are consistently placed on either side of a central point, such as matching lamps on side tables flanking a sofa. This approach ensures the picture looks proportionate, clean, and harmonious.
However, it’s essential not to go overboard with symmetry, as it can make a space look rigid and clinical. Aim for a balanced use of symmetrical elements to create a calm and pleasing visual without overwhelming the viewer.
By focusing on these core principles—floating furniture for conversation areas, adding texture strategically, and ensuring symmetry and balance—you will transform the living spaces into inviting, photogenic environments that appeal to potential buyers.
Ensure that these visual techniques are coherently executed, setting the foundation for successful home staging. Consistency in these elements across other rooms enhances the overall appeal and makes a significant difference in how efficiently your home is portrayed in photographs. For expert guidance on creating a cohesive and visually appealing home staging setup, visit our the process page to learn more about our approach.
Bedrooms
Steam or Iron All Bedding to Eliminate Wrinkles
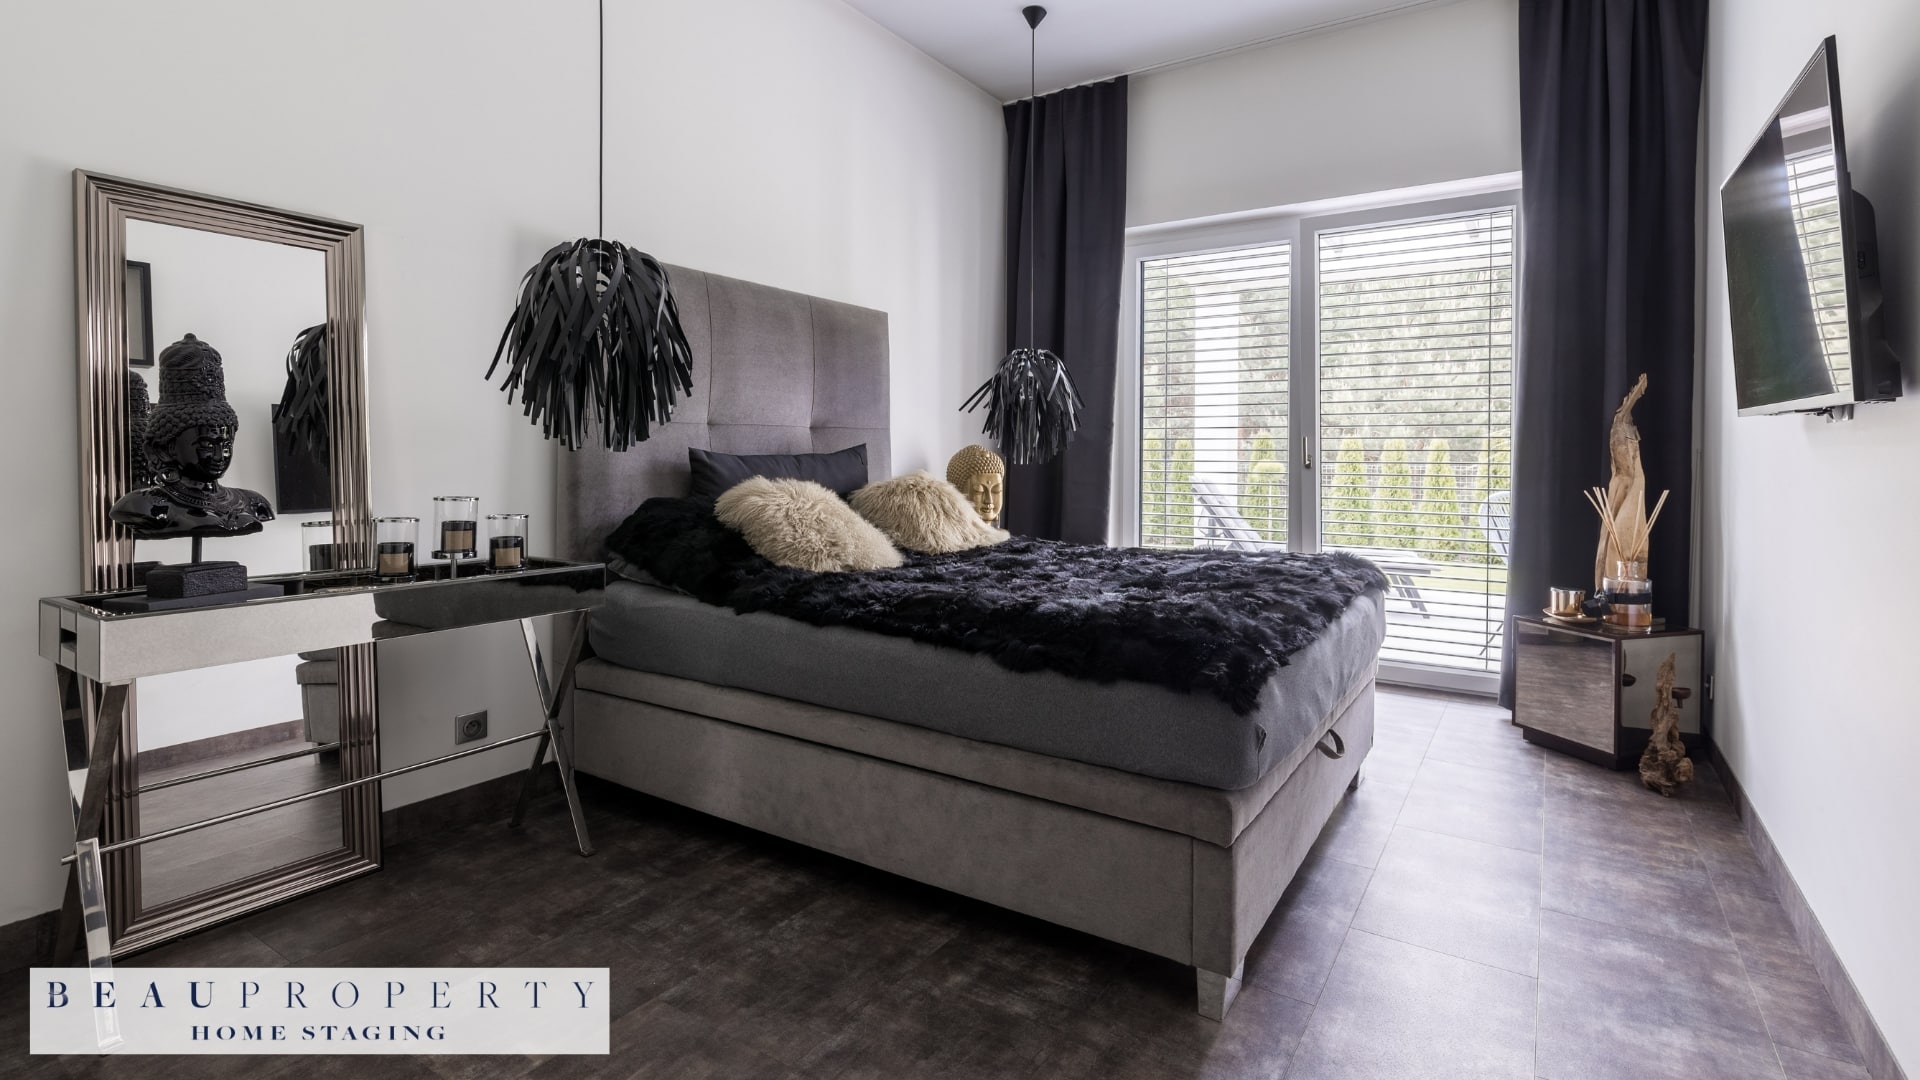
When staging a bedroom for professional photos, ensuring the bedding is wrinkle-free is crucial. Wrinkled bed sheets and comforters can look unkempt and detract from the overall aesthetics. Start by making your bed then spray the bedding with light mist of water. Pull the sheets taut immediately after misting to smooth out any creases.
If spritzing alone does not suffice, consider using a steamer for a more polished look. The hot steam will take out wrinkles effectively, providing a crisp, smooth finish to your linens. For comforters, use a tumble dryer on a non-heat setting with damp items like a wet towel to help soften and de-wrinkle the fabric.
Position Furniture to Highlight Room Dimensions
Proper furniture placement can make any bedroom feel more spacious and inviting. Position the bed either centred against the largest wall or by a window to create a focal point. In smaller bedrooms, opt for a lower bed frame to give the illusion of more vertical space.
Ensure that the traffic flow is smooth, which means allowing enough space for easy movement around the room. Avoid blocking passageways with furniture, and create symmetry by balancing either side of the bed with matching nightstands or lamps.
Ensure Window Treatments Are Clean and Properly Hung
Windows are a significant feature in any bedroom, often serving as a source of natural light. Clean window treatments, like drapes, blinds, or shades, ensure that the light coming through the windows is not hindered by dust or dirt. Use a feather duster or a vacuum with an attachment to remove dust from drapes and blinds. For deeper cleaning, employ mild detergent and a soft cloth. To see how well-maintained windows enhance a room’s staging, explore our portfolio page for examples of our work.
When hanging curtains, use rods that extend beyond the window frame. This allows the curtains to be fully drawn back, maximising the light entering the room and creating a perception of larger windows. Ensure that the curtains are at an appropriate length, ideally grazing the floor to add a touch of elegance without dragging.
Correctly cleaned and positioned bedding, furniture, and window treatments can significantly enhance the visual appeal and spatial perception of a bedroom, making it much more inviting and photogenic.
Transition to the next consideration to ensure that these principles come together effectively, allowing each room to complement the next seamlessly.
Kitchen and Dining Areas
A well-staged kitchen and dining area can capture a buyer’s attention instantly. It should feel open, inviting, and meticulously organised.
Clear Countertops of Unnecessary Appliances and Clutter
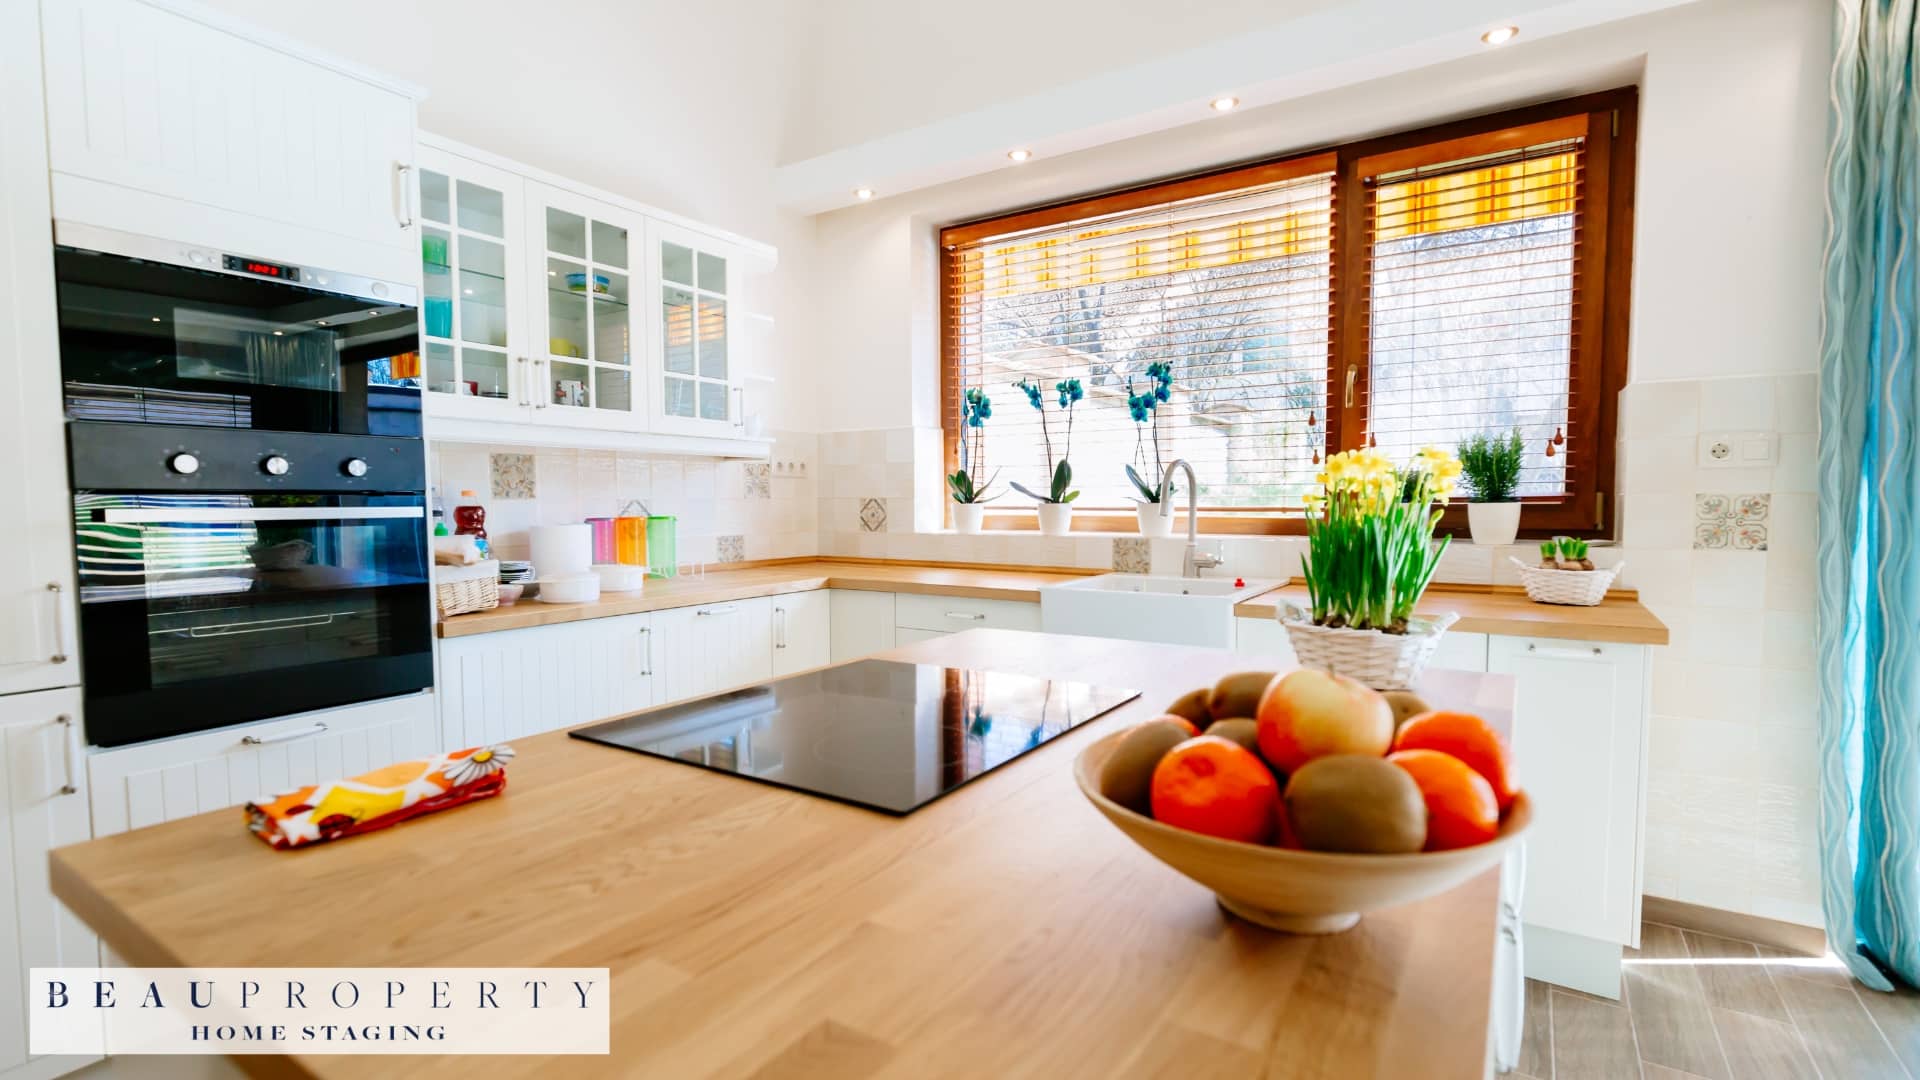
The first step in staging your kitchen is to ensure that all countertops are free of unnecessary appliances and clutter. This not only makes the space look larger but also highlights the functionality and cleanliness of the kitchen. Tuck away toasters, blenders, and other small appliances in cabinets or pantry spaces. Make sure that only a few decorative items, such as a neatly arranged fruit bowl or a stylish jar of utensils, remain visible. This minimalistic approach enhances the overall aesthetic appeal of the kitchen and ensures it photographs well. For more ideas on kitchen staging, check out our new builds and show homes page to see how we elevate each space.
Create an Inviting Tablescape in Dining Areas
An inviting tablescape can make a dining area look like the perfect place for gatherings and special occasions. Begin by selecting a neutral table runner or placemats to set a cohesive base. Add a centrepiece, such as fresh flowers or a tasteful bowl filled with seasonal fruits. Arrange simple yet elegant table settings complete with plates, cutlery, and glassware. The idea is to convey warmth and hospitality without overwhelming the viewer with too many elements. Remember, the goal is to create a space that feels both practical and aspirational.
Ensure All Surfaces Are Spotlessly Clean and Appliances Gleaming
Cleanliness cannot be overstated when it comes to staging your kitchen and dining areas. Every surface, including countertops, cabinetry, and floors, must be cleaned thoroughly. Wipe down all kitchen appliances to ensure they are gleaming—stainless steel options should be polished to eliminate smudges and fingerprints. Don’t forget to clean the insides of ovens, microwaves, and refrigerators as prospective buyers may inspect them. A sparkling clean environment not only looks beautiful in photographs but also creates an impression of a well-maintained home.
By implementing these steps, you will create a kitchen and dining area that looks both inviting and immaculate, capturing the essence of home and function.
Bathrooms
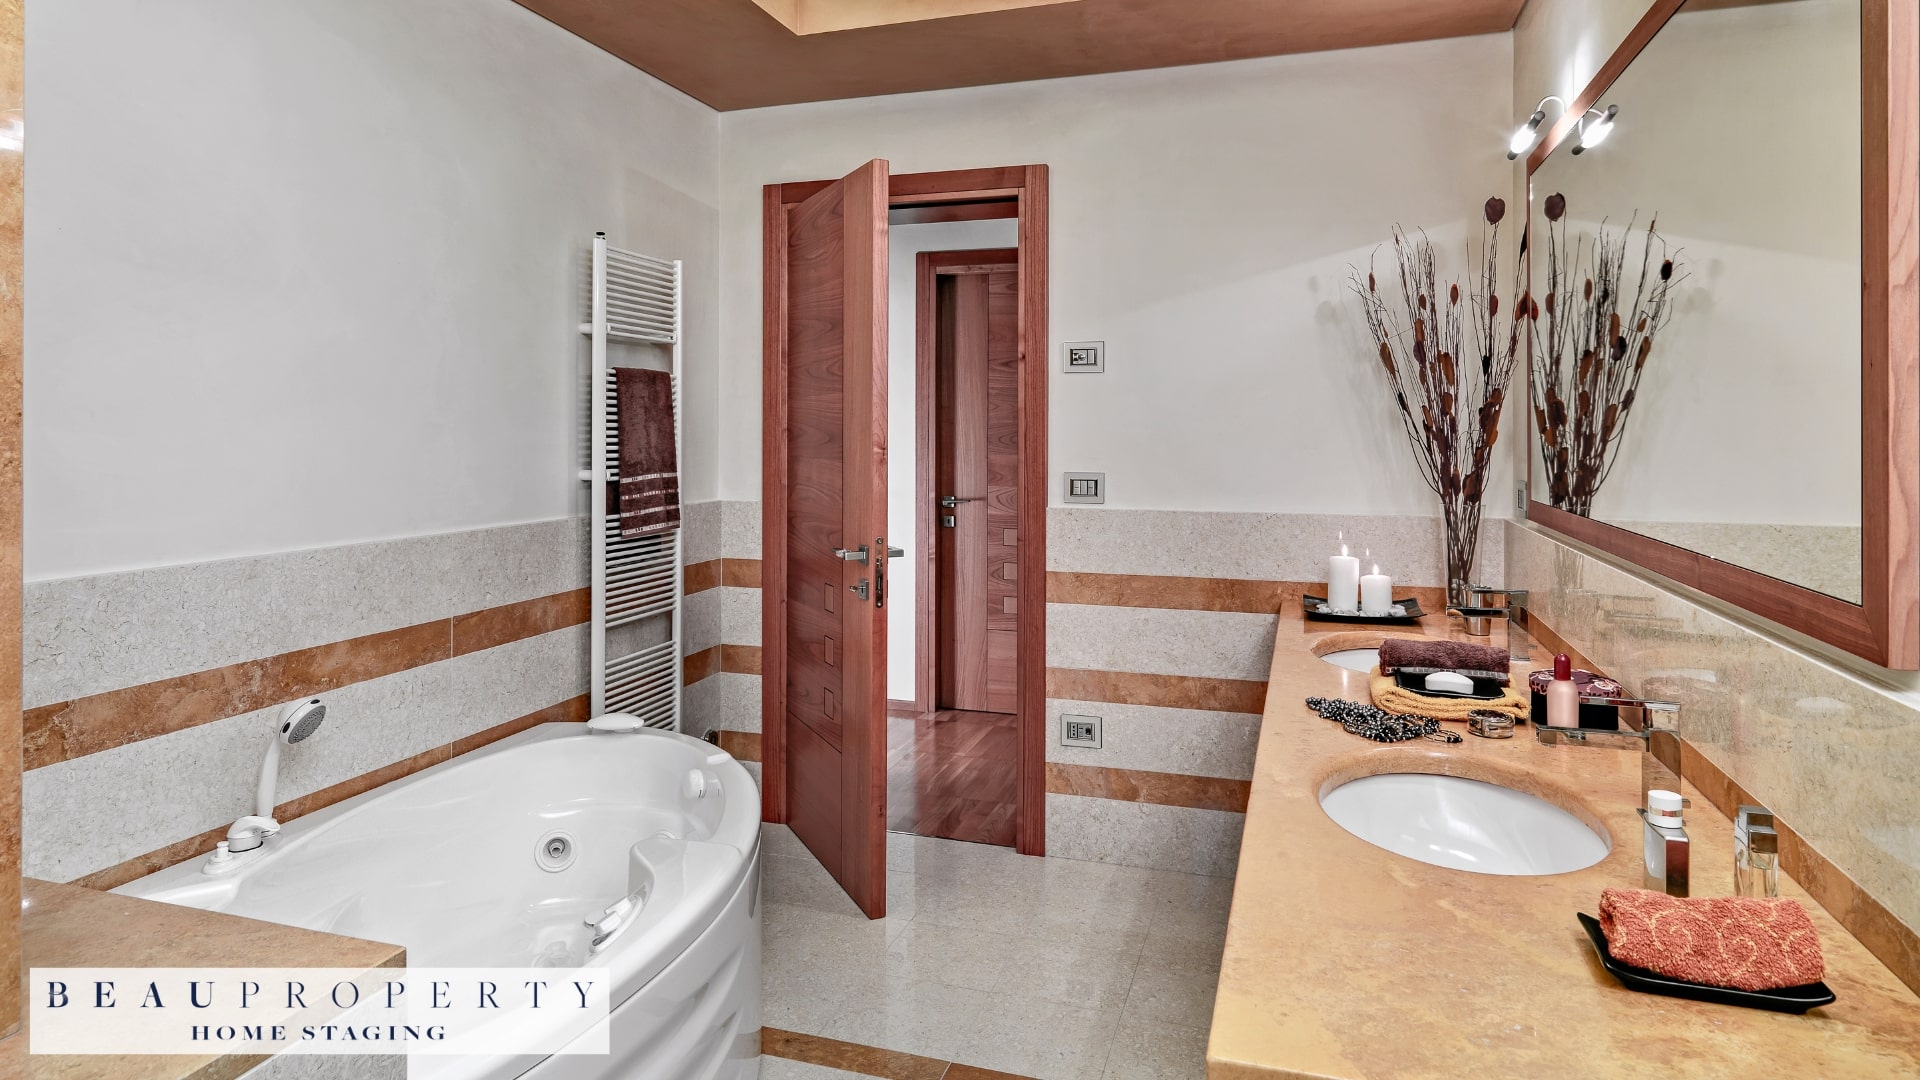
A well-staged bathroom can elicit feelings of comfort and relaxation, enticing potential buyers. It’s crucial to maintain a spotless, clutter-free environment.
Remove Personal Items and Clean Surfaces
Start by removing all personal items and toiletries from countertops and shelves. A clean, empty vanity ensures the bathroom feels spacious and minimalist. Wipe all surfaces, including countertops, mirrors, and faucets, to create a pristine appearance. Don’t forget to clean the shower, bathtub, and toilet—paying close attention to any hard water stains or soap scum.
Add Fresh Towels and Decorative Accents
Adding fresh, fluffy towels in neutral colours can make the bathroom feel more inviting and spa-like. Consider displaying a matching set of coordinated hand towels and bath towels. Introduce a small potted plant or a decorative item, such as a scented candle or a piece of abstract art, to elevate the space’s visual appeal. However, avoid overcrowding the area with too many decorative accents.
Ensure Functionality and Freshness
Check that all fixtures and fittings, such as showerheads, taps, and cabinet handles, are in good working condition. Replace any non-functional or damaged items. To maintain a fresh aroma, use a subtle air freshener or a reed diffuser. Consider leaving a small basket with travel-size toiletries or a new bar of scented soap on display as a welcoming touch. For more staging tips that add a welcoming feel to every room, visit our sustainability page to see our commitment to creating fresh, inviting spaces.
By following these steps, you’ll create a clean, clutter-free and welcoming bathroom that exudes relaxation and comfort.
Lighting Considerations
Maximising Natural Light
Natural light can greatly enhance the aesthetics of a room in photographs. To ensure maximum natural light, start by cleaning all windows until they’re crystal clear. Dirt and smudges can diffuse light unfavourably, reducing its impact. Following this, open blinds and curtains fully to allow unobstructed light flow. If privacy is a concern, consider using sheer curtains to maintain privacy without sacrificing light. For more tips on optimising light and enhancing your space, visit our what is home staging page to see how light can transform a room.
Positioning furniture to complement the incoming light can accentuate a room’s features. Light-coloured walls and reflective surfaces like mirrors can also amplify natural light, creating a bright and welcoming atmosphere.
Consistent Lighting Colour
Once natural lighting is optimised, it’s vital to assess the artificial lighting. Consistency in colour temperature across all rooms is key. Opt for bulbs around 3500K-4100K for a neutral white light. Before the photoshoot, replace any burnt-out bulbs. This not only ensures each light fixture works effectively but also maintains uniformity across your photos.
Positioning Artificial Lights
Properly placed artificial lighting can alleviate unwanted shadows that may occur in natural-light-deficient zones. Position lights high to reduce shadow casting. Additionally, using multiple light sources from varied angles can help disperse shadows and create balanced lighting in the room.
Testing light intensity and placement is key. Adjusting the distance between the light source and the subject can greatly influence shadow prominence, helping in creating a pleasant, shadow-free environment.
Transition to Final Touches
By mastering both natural and artificial lighting techniques, rooms are poised to look their absolute best in photographs. Maintaining this attention to detail seamlessly sets the stage for final preparations and checks.
Final Touches
The final touches are critical in ensuring your home is picture-perfect and ready for professional photos. This chapter outlines the essential steps to put the finishing touches on your staging work.
Double-Check All Rooms for Missed Items or Imperfections
Before the photographer arrives, take one last walk through each room. Look out for:
- Stray items or clutter that may have been overlooked
- Dust or smudges on surfaces and floors
- Any imperfections such as chipped paint or misaligned decor items
Use this time to correct any minor issues. A meticulous final check can prevent small distractions from detracting from the overall appeal of your home.
Ensure All Lights Are On and Ceiling Fans Are Off
For the best photographic results, ensure that all lights in the house are on. This includes overhead lights, lamps, and under-cabinet lighting in the kitchen. Consistent lighting creates a warm, inviting ambience and ensures that the house looks bright and spacious in photos. For more insights into creating appealing spaces for photos, explore our the process page to learn how lighting enhances every room we stage.
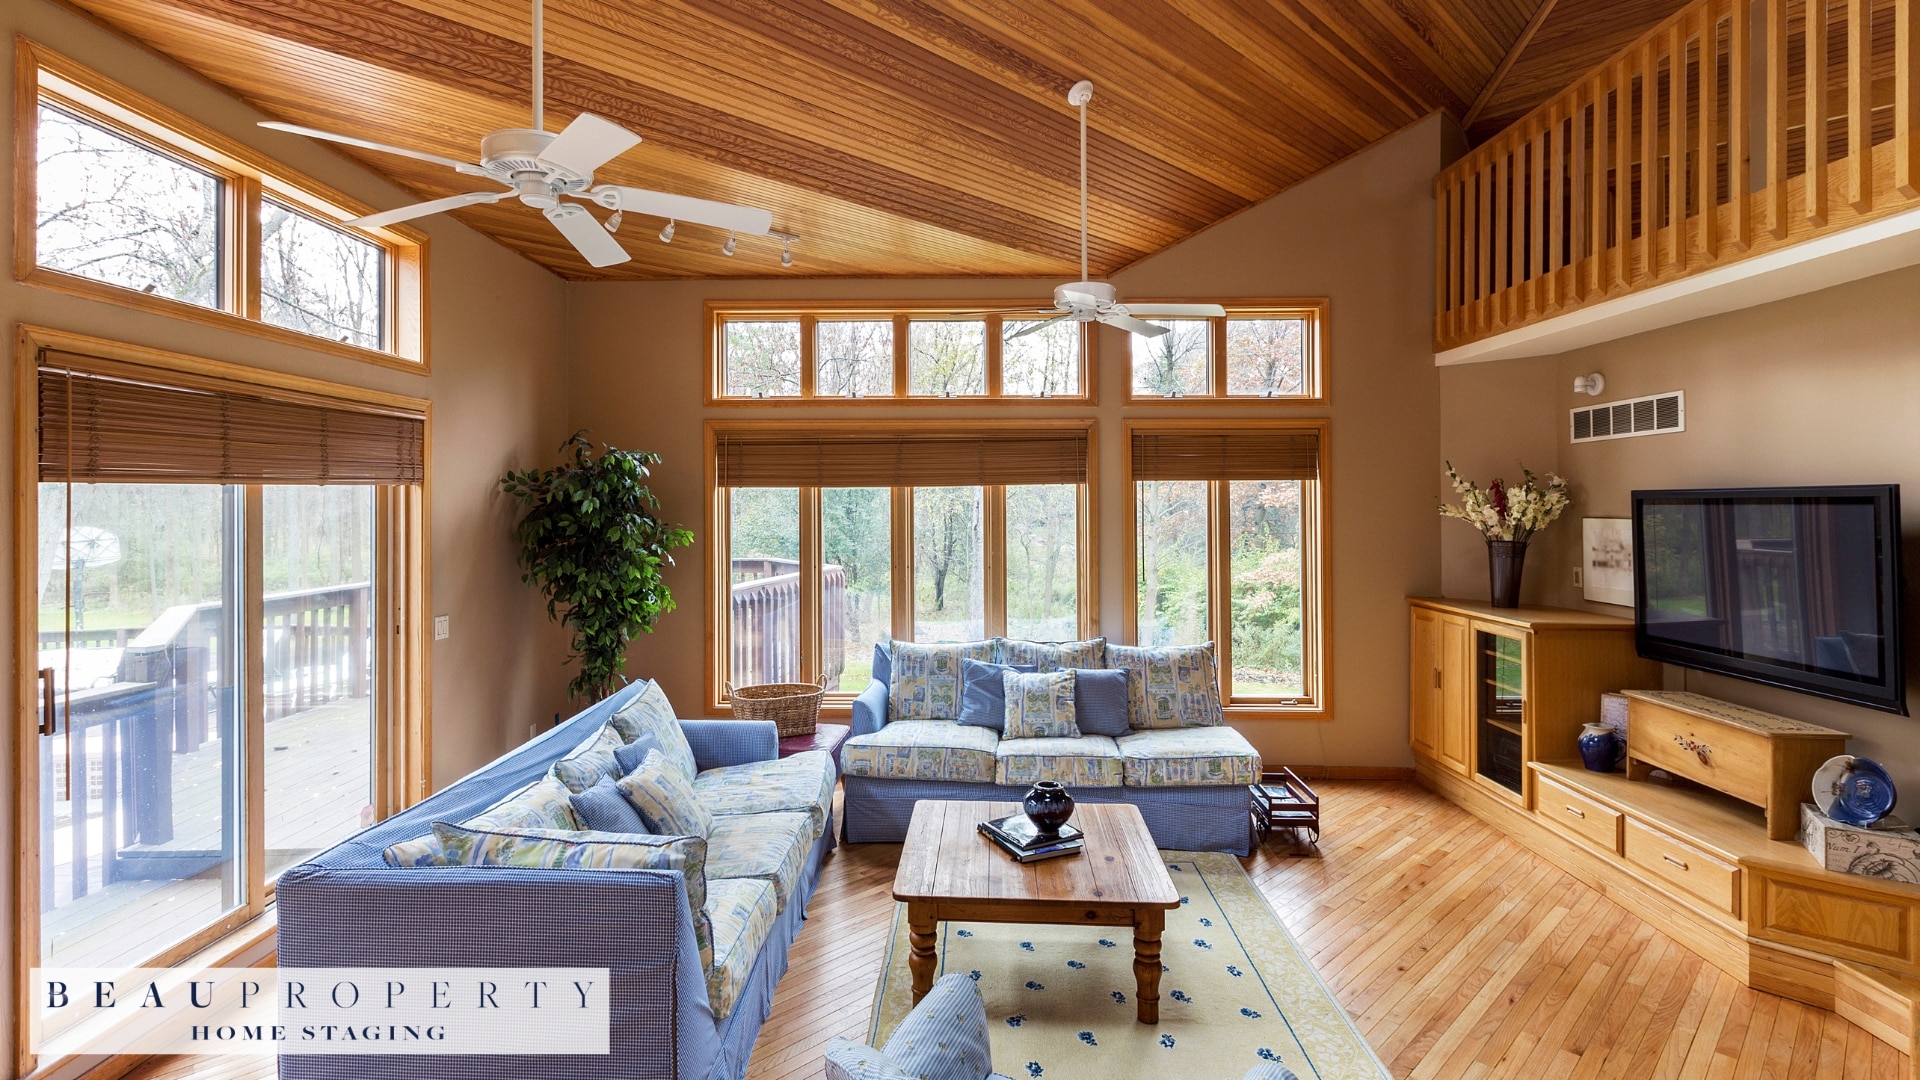
Conversely, make sure all ceiling fans are turned off. Moving blades can appear blurry in photographs and distract from the room’s overall aesthetics. A still environment helps create a clean, crisp look.
Verify That Windows and Glass Surfaces Are Streak-Free
Clean windows and glass surfaces significantly enhance the appearance of any room. Smudges, streaks, and grime on windows or glass surfaces can be very noticeable in photographs. Here are a few tips for ensuring your glass surfaces are immaculate:
- Use a high-quality glass cleaner and a lint-free cloth
- Clean both the inside and outside of windows, weather permitting
- Pay special attention to mirrors, shower doors, and any glass table tops
Clean, streak-free glass allows natural light to flood into the rooms, thereby enhancing their brightness and making the spaces look more welcoming.
By attending to these final details, you ensure that your home not only looks its best in photographs but also leaves a lasting impression on potential buyers. With the lights on, ceiling fans off, and windows spotless, your home will be ready to shine.

