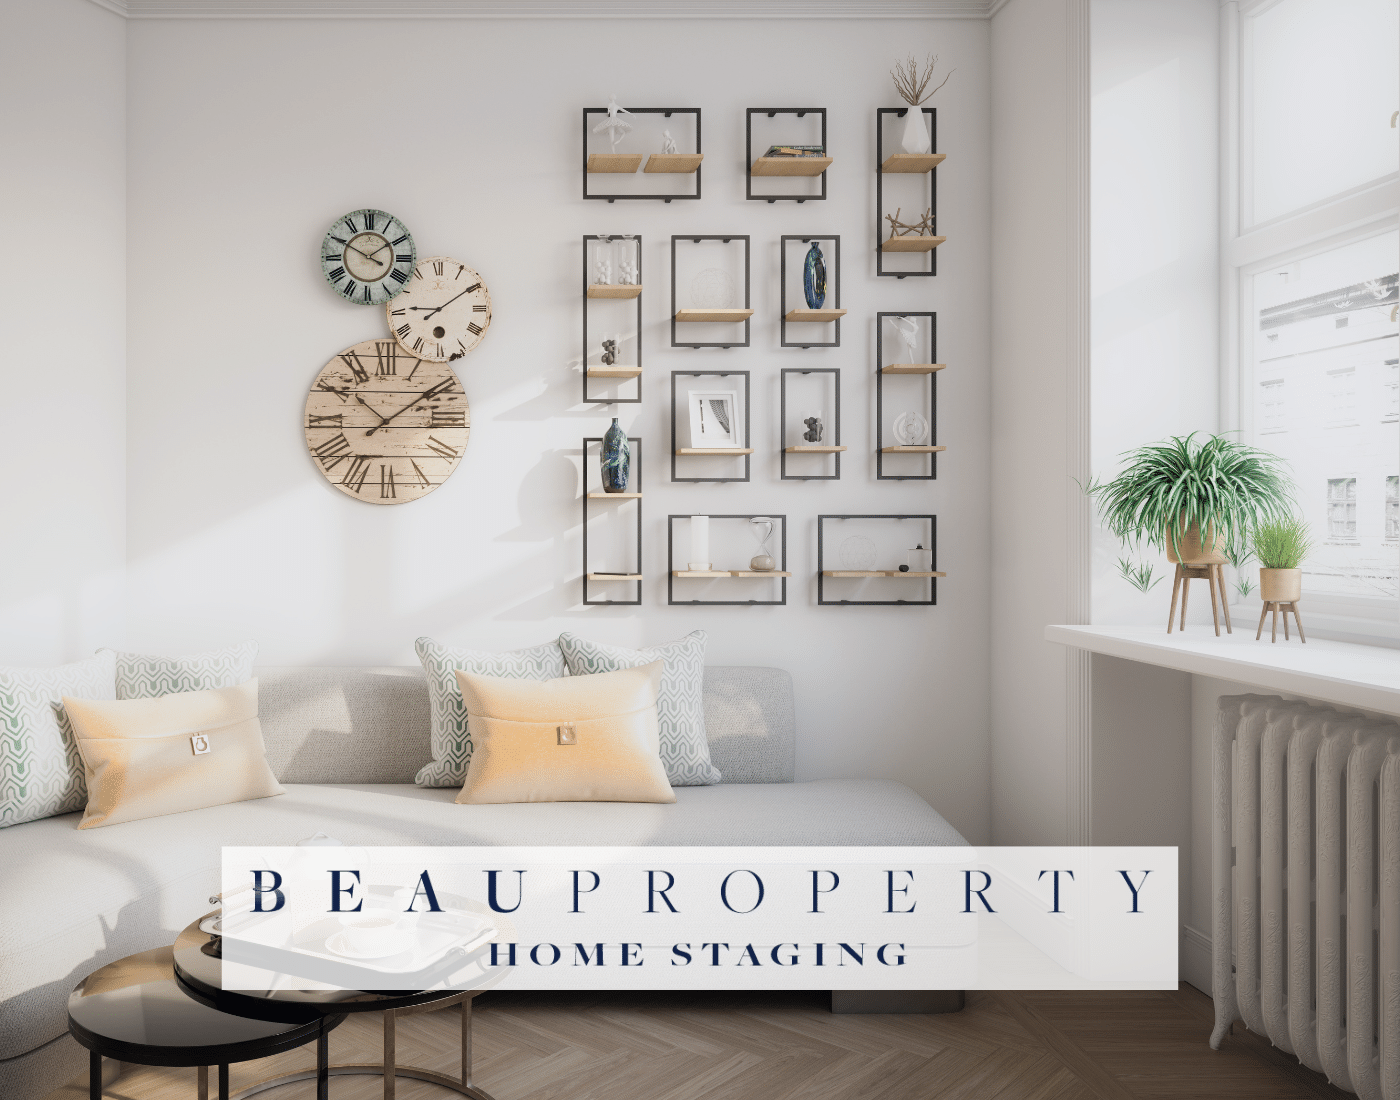
Introduction to DIY Home Staging
Property staging, also known as home staging or interior staging, is the art of preparing a property for sale or rent by enhancing its visual appeal and highlighting its best features. It involves strategically arranging furniture, decluttering, adding stylish decor elements, and creating an inviting atmosphere that appeals to a wide range of buyers or renters.
At Beau Property Staging, our team of experts understands the importance of creating a visually appealing space when it comes to selling or renting properties. That’s why we are here to share with you 9 simple DIY home staging ideas that will transform your space and help you make a lasting impression on potential buyers or tenants.
From decluttering and depersonalising to adding fresh coats of paint and updating fixtures, our tips will guide you through each step with detailed instructions. We understand that not everyone has access to professional stagers or the budget for extensive renovations. That’s why we have curated this list of simple yet impactful DIY home staging ideas that anyone can implement on their own.
By optimising your space using these techniques, you will be able to showcase the true potential of your property and attract more interest from prospective buyers or tenants. Whether you are selling a house or renting out an apartment, our expert advice on property staging will help you create a welcoming environment that stands out from the competition.
So if you’re ready to transform your space and increase its marketability through effective home staging techniques, follow along as we delve into these 9 simple DIY ideas. Get ready to impress potential buyers or tenants with an interior that exudes style and charm while maximising the value of your property.
1. The Magic of Decluttering and Depersonalisation
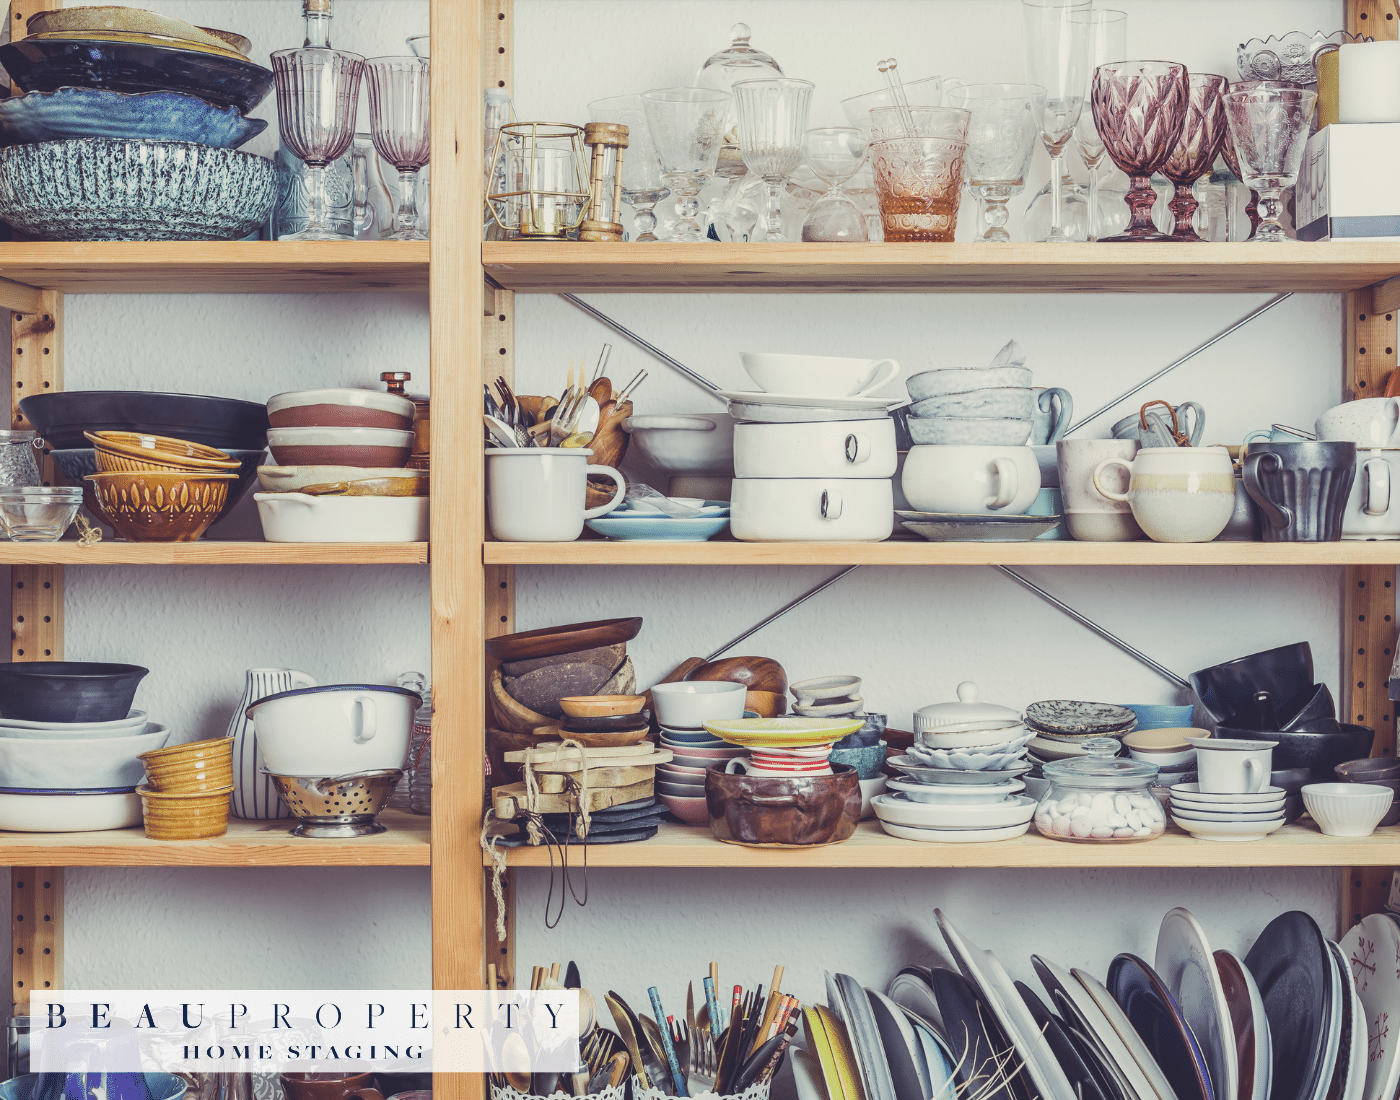
Decluttering your home before putting it on the market is one of the most impactful things you can do. All that clutter, from piles of stuff to overflowing closets, leaves a bad impression on potential buyers. It makes rooms feel smaller, darker, and less inviting. A decluttered home, on the other hand, feels spacious, bright, and ready for a new owner to move right in.
The Power of Minimalism
Taking a minimalist approach shows off your home’s best features instead of hiding them behind clutter. Get rid of anything you don’t use or need on a regular basis. Rent storage space if necessary. Clean surfaces, organise closets, and ensure there is ample room to walk around. The goal is for buyers to easily picture themselves living in the home.
Creating a Blank Slate
In addition to general decluttering, you’ll want to depersonalise each room. Pack away family photos, personalised decor items, collections, etc. Your goal isn’t to remove all personality from the home but rather to minimise distractions. Buyers should be able to imagine the space becoming their own. If they are constantly reminded someone else lives there now, it’s harder for them to picture their future in your home.
Depersonalising also helps you emotionally detach and see your property as a product to be sold rather than just the place where you’ve built memories over the years. This mindset shift can make the selling process smoother.
2. A Fresh Coat of Paint – Choosing the Right Colours
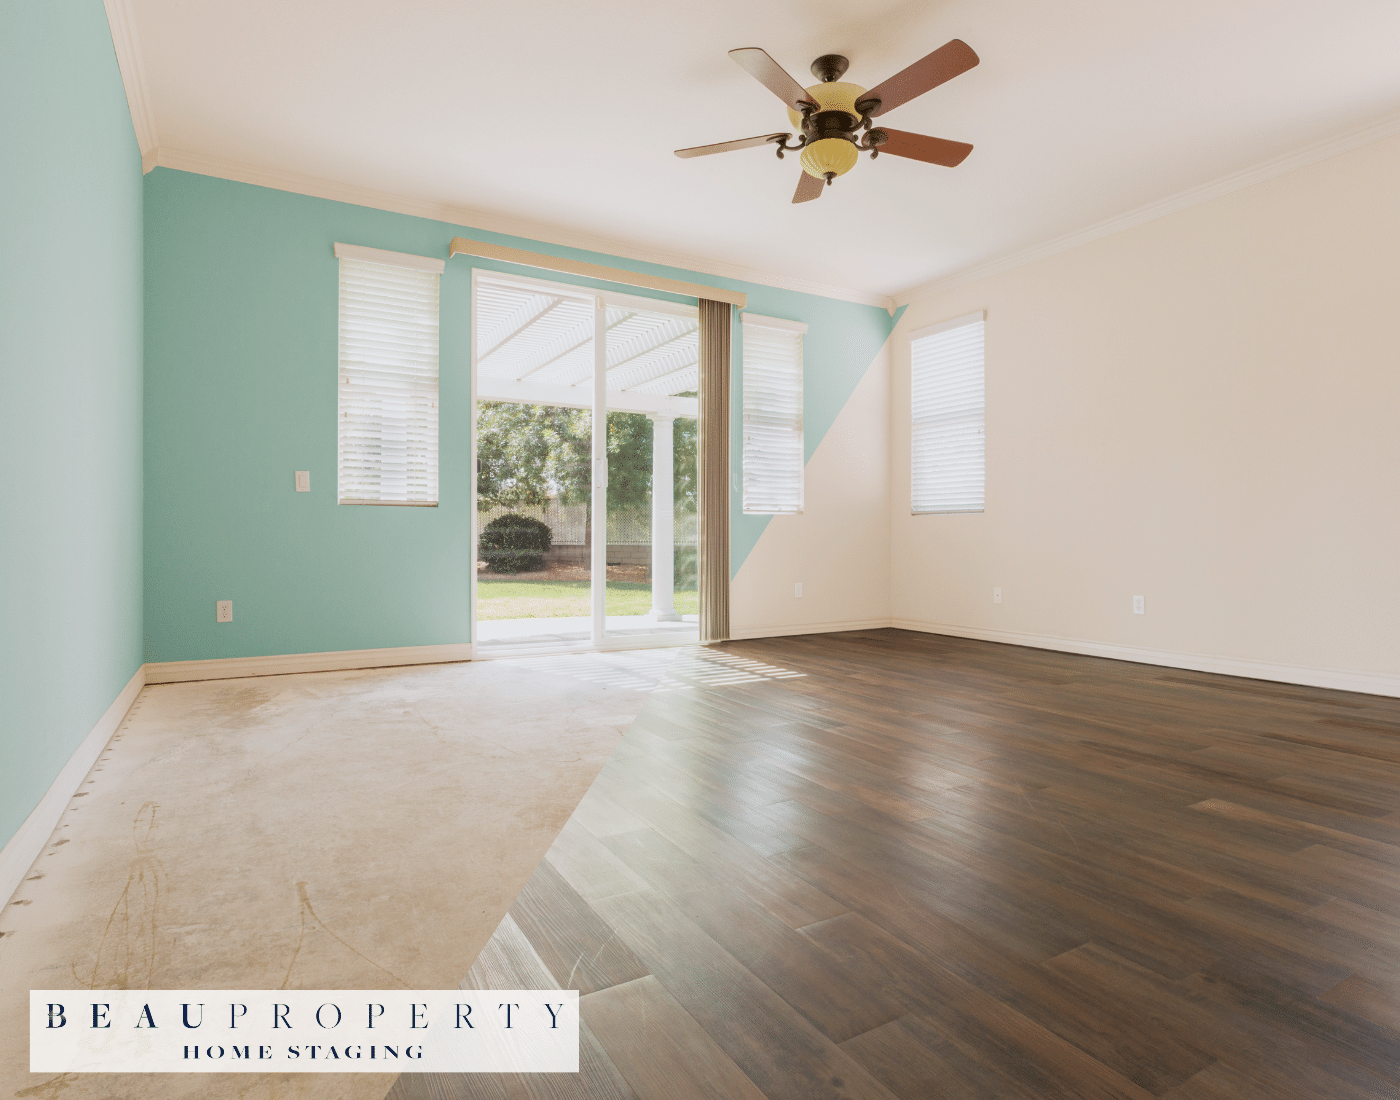
A fresh coat of paint can make all the difference when staging a home. Selecting the right neutral colours is key to appealing to a wide range of buyers. Here are some useful tips on choosing paint colours that enhance your space:
Go Neutral
Sticking to neutral paint colours is your best bet for staging. Shades like off-white, light grey, and beige tend to have the broadest appeal. They make rooms look clean, bright, and spacious. Neutrals also allow buyers to envision adding their own personal touches down the road.
Consider the Room
While neutral paints are ideal for most spaces, certain rooms call for specific shades. For example, pale blue or green work well in bathrooms and kitchens, conveying a sense of tranquility. Soft peach or tan paints make excellent choices for bedrooms, promoting relaxation. Just stay away from bold colours in any room, as they can be polarising.
Mind the Undertones
Pay attention to subtle colour undertones when selecting neutral paints. A grey with purple or blue undertones reads cooler, while one with yellow, peach, or pink undertones is warmer. Cooler greys pair nicely with metals and modern decor, while warmer greys complement antique woods and traditional styles. The undertone can really shift the vibe of a space.
Consider Lighting
The way lighting hits paint impacts its look dramatically. Natural light tends to wash colours out, while artificial light casts a yellowish hue. Test your paint colours at different times of day and with various light sources before finalising. This ensures the shade translates the way you envision under all lighting conditions.
By focusing on versatile neutral shades that appeal across demographics, you can transform the look of your home staging. Pay attention to undertones and lighting to find the perfect match for your space. The right neutral paint colour can work magic!
3. Strategic Furniture Placement
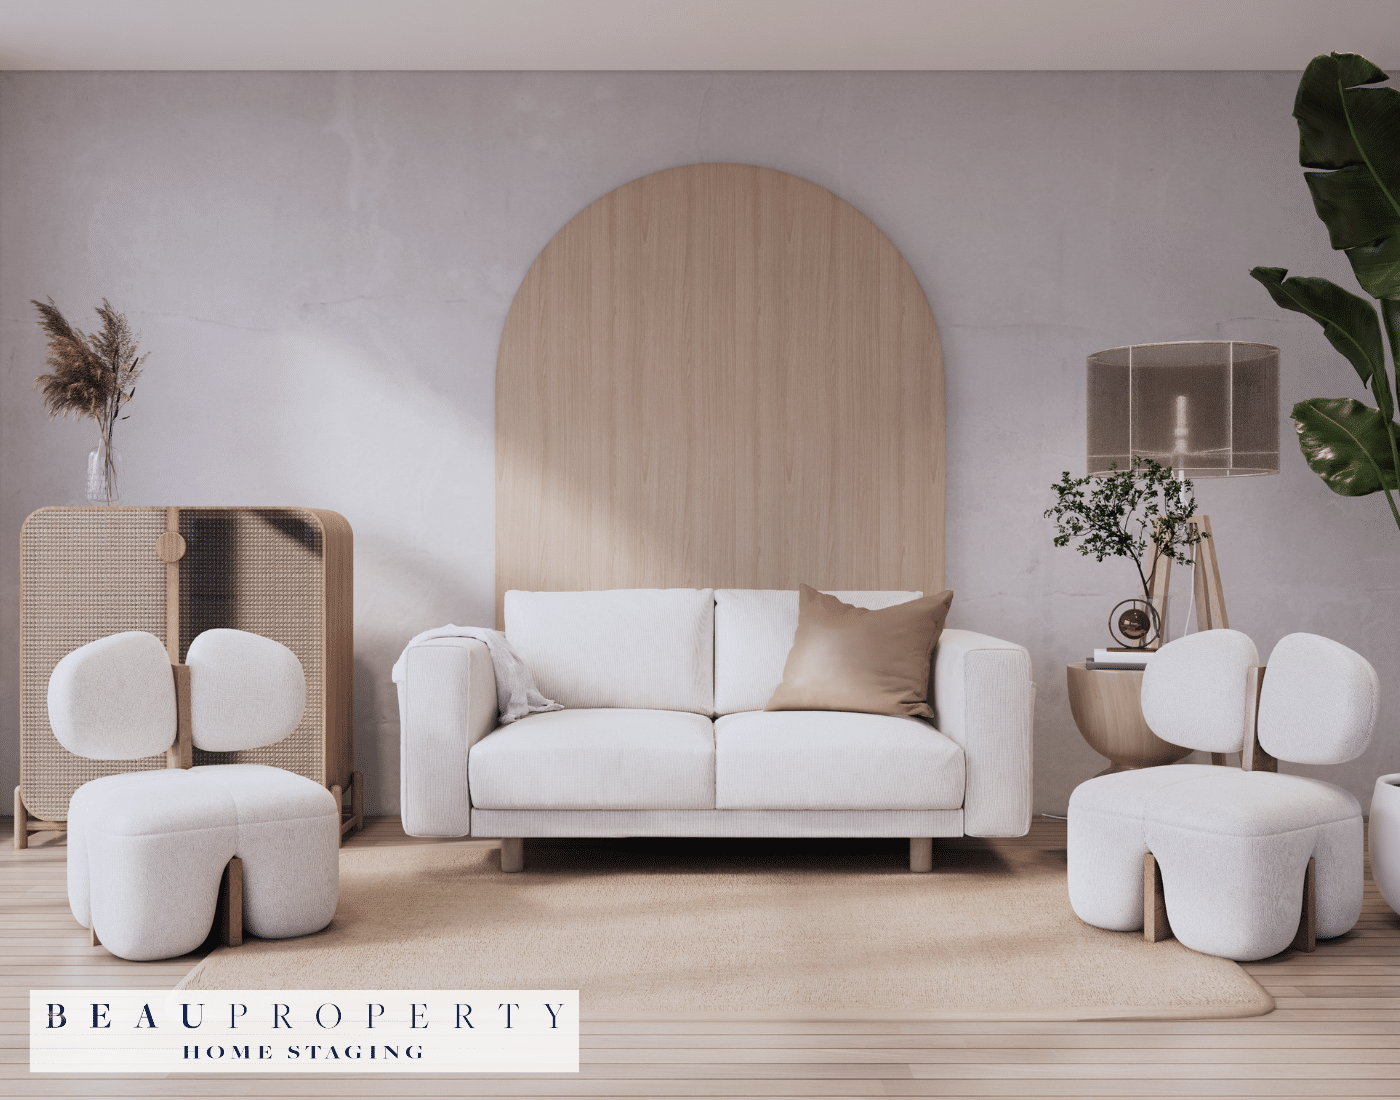
When arranging furniture in a room, it’s important to consider both aesthetics and functionality. The layout should maximise open spaces while also creating defined zones for different activities. Here are some key tips:
Avoid Wall-Hugging
Pushing all furniture pieces flush against the walls may seem like it opens up floor area, but it often makes a room feel boxed in. Pulling furniture away from the walls breaks up the space nicely and makes better use of the room’s dimensions.
Establish Focal Points
Use larger statement pieces like a sofa or accent chair to draw the eye. Positioning furniture to point towards artwork, a fireplace, or another decorative element creates an inviting focal point. Place key lighting fixtures to illuminate these areas.
Define Spaces and Pathways
Arrange seating to promote conversation by facing chairs towards one another. Use rugs to delineate sitting spaces from pathways for walking through the room. Place end tables and lamps within arm’s reach of each seat.
Experiment with Layouts
An L-shaped sectional makes it easy to divide a room for both watching TV and chatting. A pair of loveseats or chairs with a table in between defines a more intimate area. Moving pieces around sparks creativity.
With some forethought, it’s possible to maximise both aesthetics and functionality when arranging furniture. Defining spaces for varied activities while opening up floor space leads to a warm, welcoming environment.
4. Let There Be Light – Brightening Your Space
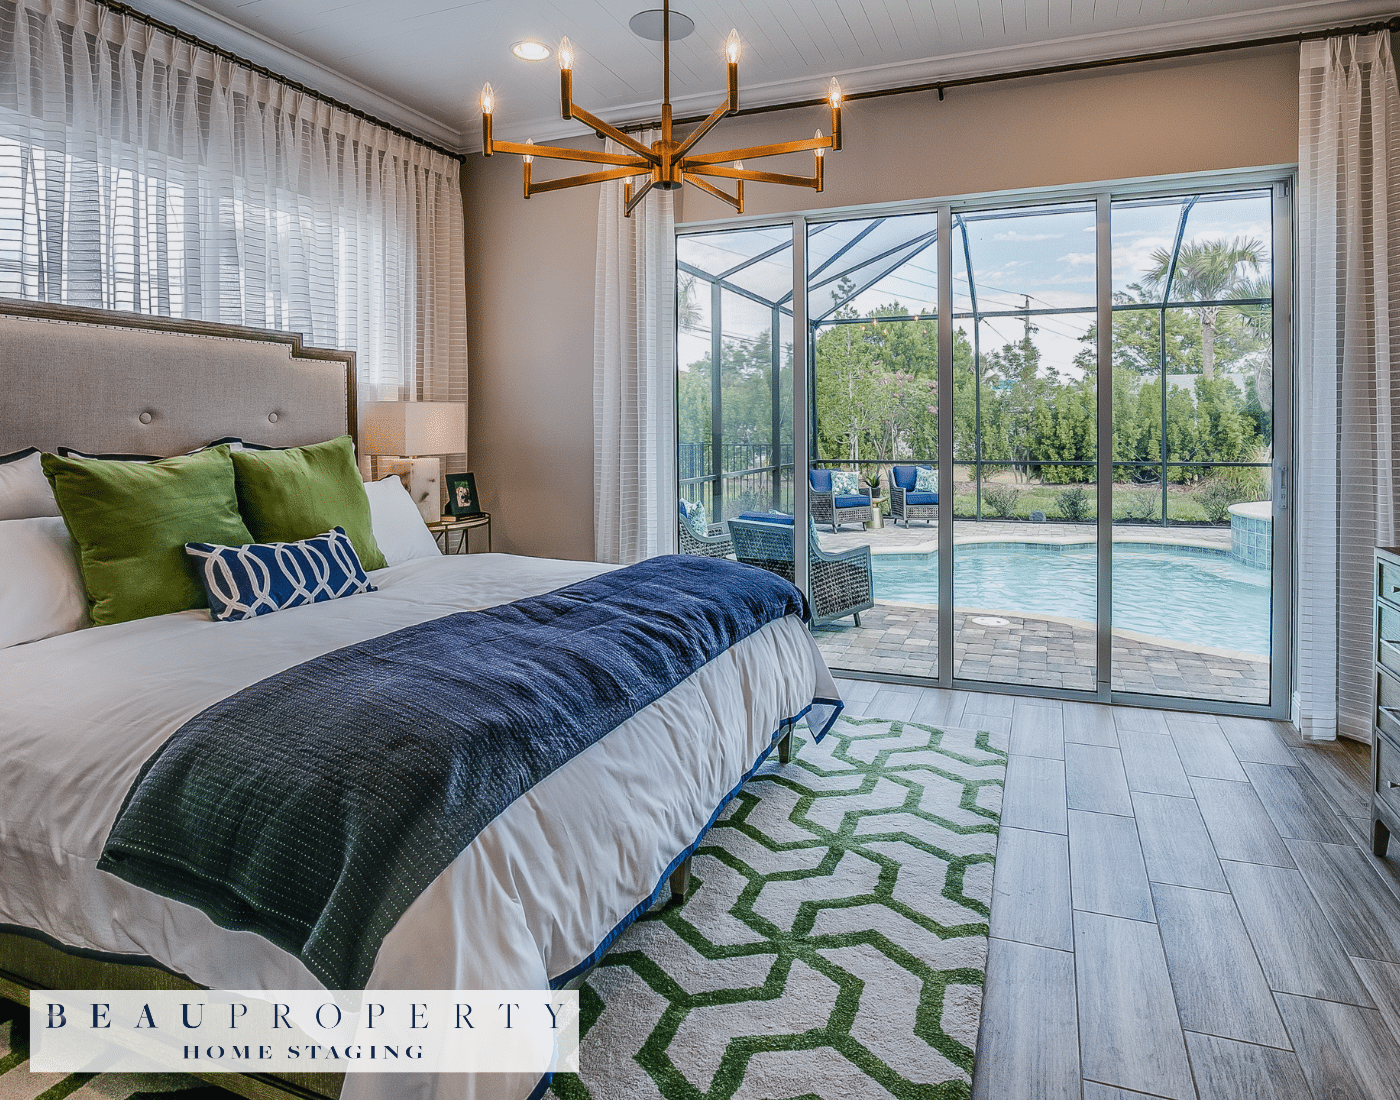
Lighting can make or break a home staging. The right lighting highlights the best features of a space and makes it feel warm, cozy and welcoming. With some simple upgrades and strategic placement, you can dramatically improve the lighting in your home without breaking the bank.
Use the Best Bulbs
Start by using the highest quality and brightest acceptable bulbs in all your fixtures. LED and fluorescent bulbs put out more light per watt than traditional incandescents. Pay attention to light temperature as well – install bright, cool daylight bulbs in places like kitchens and bathrooms where you want crisp, clear lighting. Use softer, warmer bulbs in living areas and bedrooms.
Repurpose and Upgrade Fixtures
Consider moving fixtures from less visible places like bedrooms to highlight showcase areas like living rooms. Upgrade dated fixtures to more modern looks. Add touches like dimmers to give buyers control over ambiance. If needed, have an electrician install new wiring and switches to give you optimal lighting placement.
Reflect Natural Light
Position mirrors across from windows to reflect daylight into darker corners. Install sheers or replace heavy drapes with lighter window treatments to allow more sunlight in. Whitewash dark walls and ceilings to prevent light absorption. Place lamps strategically to direct both natural and artificial light where you need it most.
With a few inexpensive upgrades and by making the most of what you already have, it’s easy to make your home shine bright for potential buyers.
5. Accessorise to Accentuate
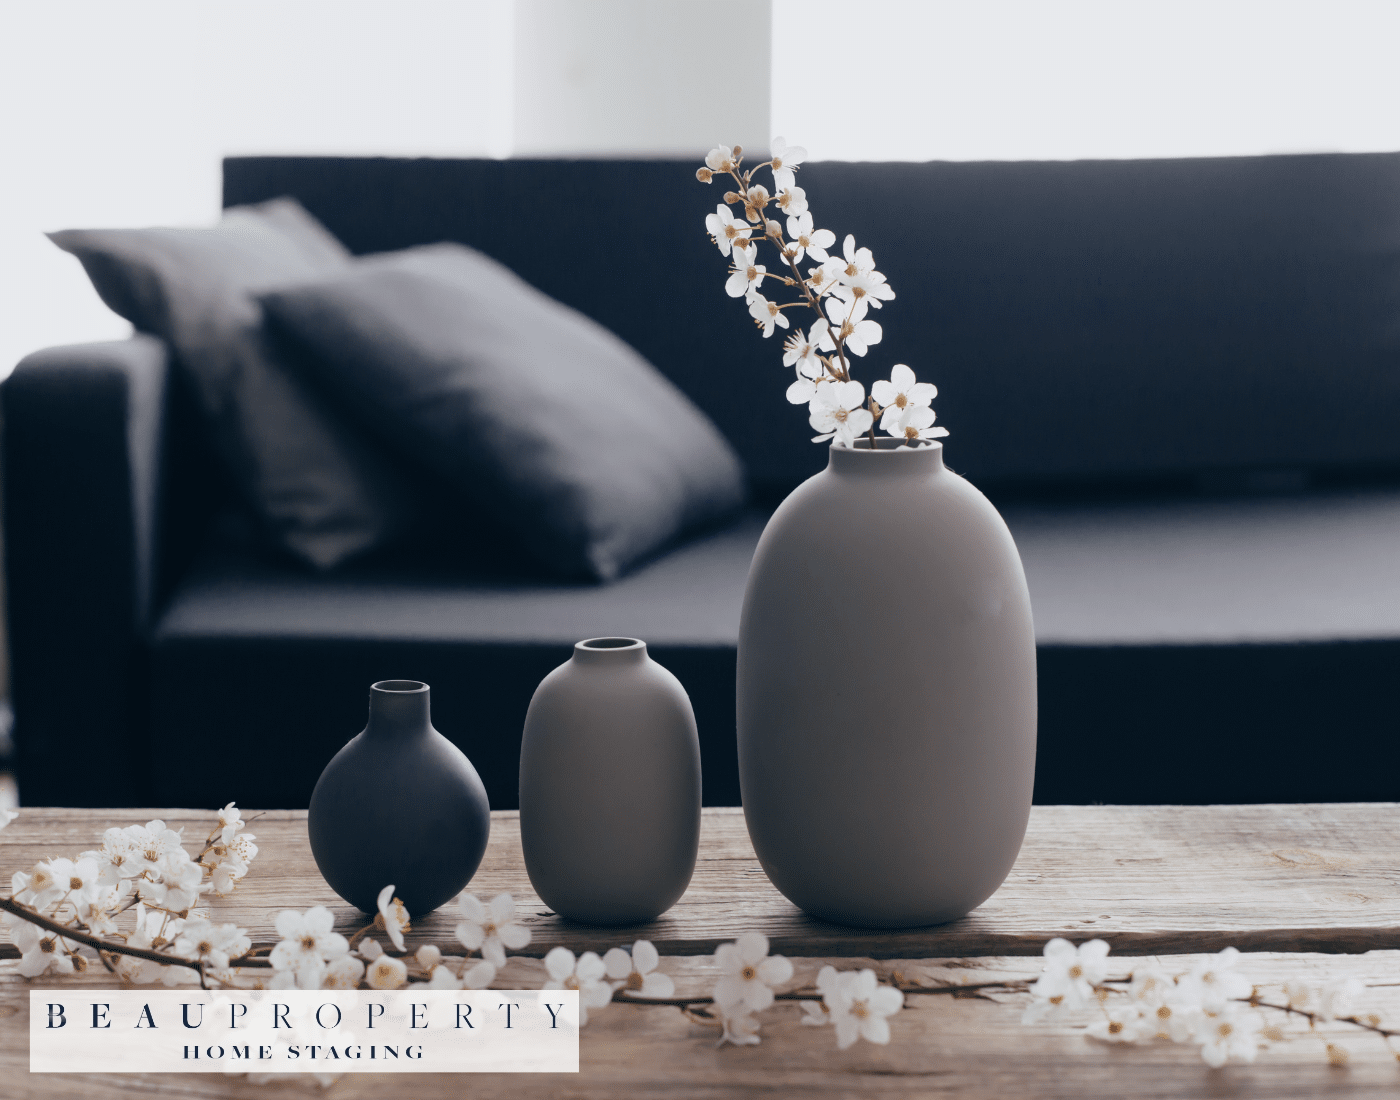
When staging a home, accessories can make all the difference in creating a warm, inviting space. However, it’s important not to go overboard. The key is striking the right balance between adding personality through décor while still allowing potential buyers to envision the home as their own.
Choose Pieces That Complement the Existing Style
Before shopping for accessories, take stock of your current décor. Note the color palette and themes used in each room. Then, look for items like throw pillows, blankets, artwork, and decorative objects that build on those styles. For example, if your living room uses a neutral color scheme, bring in pops of color through vibrant pillows and ceramics. This creates visual interest while keeping the background simple.
Edit Out Distracting Clutter
While accessories liven up a space, too many objects can make rooms feel cluttered and smaller. As a rule of thumb, if an item doesn’t serve a functional or aesthetic purpose, remove it. For instance, pack away most family photos, kids’ artwork, and sentimental objects that won’t appeal to buyers. Then carefully curate what remains, grouping items into vignettes rather than scattering them randomly.
Aim for a Clean, Inviting Look
The staging process involves showcasing the best features of a home. An overcrowded room, even if the items are nice, undermines that goal. When accessorising, refrain from overloading surfaces and filling every last bit of free space. Follow the less-is-more approach, using restraint so desirable qualities like openness and flow aren’t obstructed. The resulting crisp, uncluttered aesthetic makes rooms feel larger and allows imagination to fill the possibilities.

6. Creating an Inviting Outdoor Space
Curb appeal and first impressions are critical when potential buyers approach a home. An inviting outdoor space can set the stage for a positive showing experience. Even simple, budget-friendly touches like cozy lighting, fresh paint on outdoor furniture, and lush container gardens can make a big difference.
Enhance Curb Appeal
Focus first on curb appeal by clearing any clutter from the entryway and front yard. Power wash siding, sweep walkways, trim bushes, and add pops of color with inexpensive flowers or potted plants. Paint the front door an eye-catching shade to draw attention. These easy fixes make that vital first impression a good one.
Create an Outdoor Living Room
Carry your interior staging efforts outside by designing cozy spaces for relaxation. Clear an area for a gravel patio or paver seating around a fire pit. Arrange weather-resistant furniture and add throw pillows, rugs, curtains for privacy. String lights overhead to enable evening gatherings. The goal is to encourage potential buyers to imagine themselves entertaining and unwinding in this extended living area.
Accent with Greenery
Strategically placed plants, trees and flower beds instantly boost aesthetic appeal. If permanent landscaping is cost prohibitive, create temporary mini-gardens in containers of various sizes and group them near seating areas. The vibrant colors and textures of nature make any outdoor area more inviting.

7. Small Fixes, Big Difference
When preparing your home for sale, it’s easy to get overwhelmed with all the projects you think need to be done. But in reality, just a few small fixes can make a big difference in how buyers perceive your property.
Freshen Up With Paint
A fresh coat of neutral paint is one of the most cost-effective ways to update the look of your home. Stick to light, airy colors like off-white, beige, or light gray. Paint high-traffic areas like the entryway, hallways, and kitchen. This will help conceal scuffs or dirt buildup in well-used spaces.
Update Hardware and Fixtures
Replacing dated hardware like cabinet knobs, drawer pulls, switch plates and outlet covers can modernise the style. Opt for brushed nickel or oil-rubbed bronze for a current look. Make sure any new lighting fixtures or ceiling fans you install are clean, modern and work properly.
Make Minor Repairs
- Fix any leaky faucets or shower heads
- Replace torn or dirty window screens
- Patch holes, cracks or damages in walls
- Regrout tile if needed
- Replace burnt out lightbulbs
Taking care of minor wear and tear shows buyers the home has been well-maintained. This can give them confidence that more significant systems like the roof or HVAC are also in good shape.
Improve Curb Appeal
An inviting exterior can make a stellar first impression. Clean up landscaping, add fresh mulch or rocks, edge walkways and trim bushes and trees. Repaint the front door or add a welcome mat for an extra touch of charm. Make sure exterior lights are in working order.
8. The Power of Good Cleaning
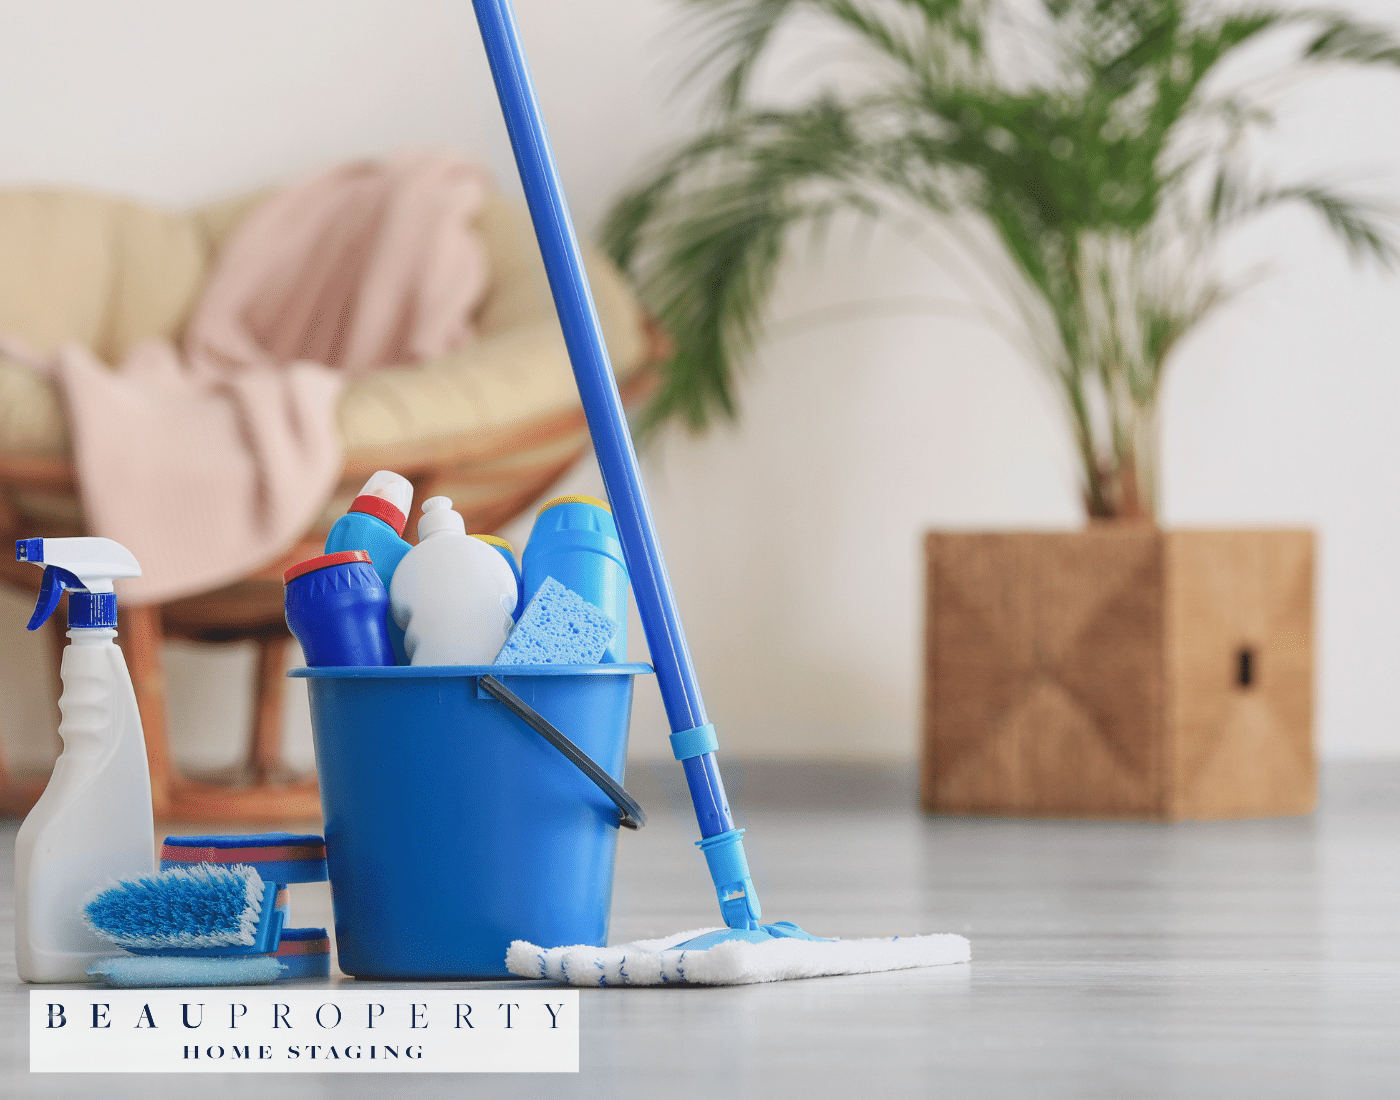
A deep clean before putting a home on the market is absolutely essential. Potential buyers will notice every speck of dust, smudge on the windows, or ring in the tub. A sparkling clean house makes an incredible first impression and shows buyers that the home has been well cared for.
Why a deep clean is essential for staging and the impression it leaves on visitors.
Cleanliness is one of the top factors buyers consider when viewing a home. A deep clean removes layers of dirt, stains, odors, and clutter that accumulate over time. It brings out the home’s best features and makes rooms look brighter, more spacious, and move-in ready.
When buyers walk into a spotless home, it communicates that the sellers cared for and took pride in their property. This builds trust and makes buyers feel more positively about making an offer. On the other hand, a dirty or unkempt home turns buyers off and makes them wonder what other problems might be hiding beneath the surface.
Cleaning hacks that save time while delivering spotless results.
Here are some handy cleaning hacks for fast, fabulous results:
- Clean rooms from top to bottom to avoid re-cleaning lower areas.
- Group tasks by location to minimise backtracking and wasted effort.
- Soak oven grates in the bathtub while tackling other kitchen tasks.
- Let gravity help remove dust by starting with ceiling fans and high shelves.
- Use a damp microfiber cloth to attract and trap more dust and dirt.
Eco-friendly cleaning options that are both effective and safe for families and pets.
Today’s buyers appreciate eco-friendly homes. Green cleaning uses plant-based, non-toxic ingredients that get the job done without harming families, pets or the environment. Some excellent options include:
- White vinegar – cuts grease, removes hard water deposits, disinfects
- Baking soda – deodorizes, scours without scratching
- Lemon juice – cuts through grease, bleaches stains, deodorizes
- Hydrogen peroxide – disinfects without toxic fumes
- Castile soap – biodegradable cleaner made from vegetable oils
Check ingredient lists when buying commercial cleaners and look for plant-based components like citrus, pine oil, olive oil, etc. Avoid harsh chemicals like ammonia, chlorine and formaldehyde.
9. Final Touches Before the Showcase
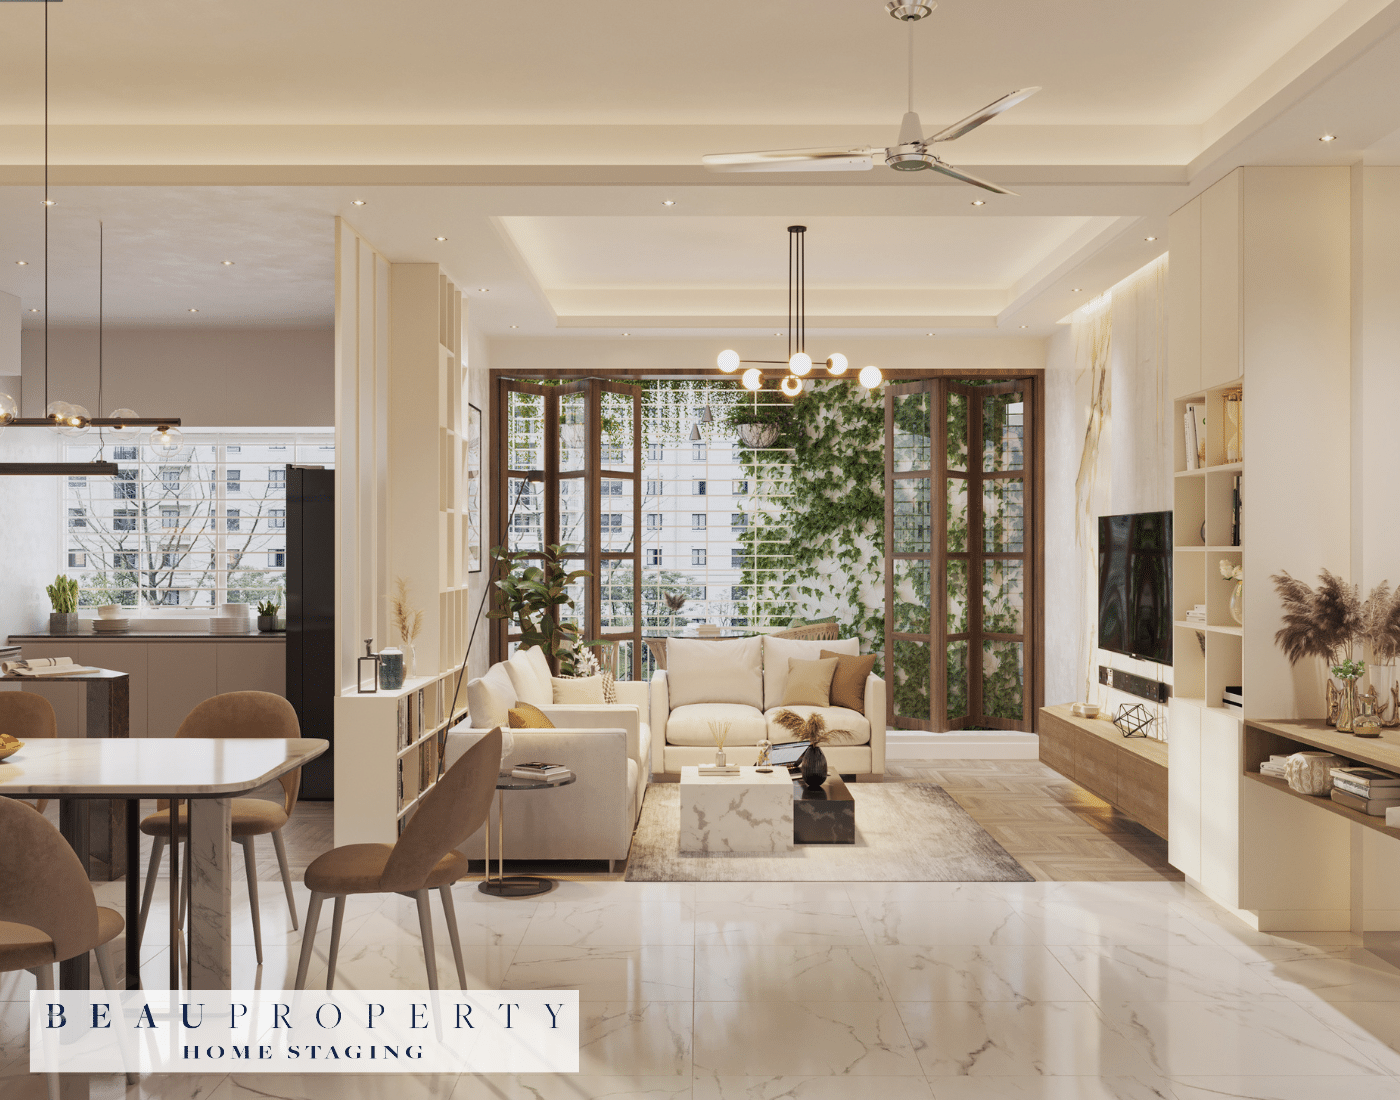
After implementing all the DIY home staging tips covered so far, it’s time for one final walkthrough to catch any last details before showcasing your property. This final polish is essential for leaving that lasting great impression on potential buyers.
Recap Key Staging Strategies
Let’s quickly recap some of the key staging ideas discussed:
- Decluttering and depersonalising creates a clean slate
- Strategic furniture placement maximises space
- Paint colors influence perceptions of room size and mood
- Proper lighting showcases the home’s best features
- Accessories accentuate style when chosen thoughtfully
- Curb appeal and outdoor living areas matter too
Keeping these strategies in mind will help you make final adjustments to truly transform each room.
Conduct a Final Walkthrough
Do one last comprehensive sweep of the home, looking at it through the eyes of potential buyers. Keep an eye out for:
- Remaining clutter or personal items to remove
- Furniture placement issues or pathways that feel cramped
- Burnt out light bulbs or fixtures needing upgrades
- Accessories that distract rather than accentuate
- Any minor repairs left undone
Check each room from multiple vantage points and make any last tweaks necessary. Pay special attention to kitchens, bathrooms and outdoor areas.
Adjust Based on Feedback
If possible, get a second opinion from friends or family walking through the home. Ask them to point out anything they find distracting or off-putting. Be ready to make changes based on constructive feedback.
With a fresh perspective, you may catch details you originally overlooked. This will help ensure your DIY staging leaves the best impression possible!
DIY Home Staging Tips: Conclusion
After reading through the variety of simple yet transformative DIY home staging ideas covered in this blog post, it should be clear just how much of an impact small tweaks and fixes can have in preparing your property to impress potential buyers. The ease and affordability of doing it yourself means you can reap significant rewards for a modest investment of time and money.
The Power of DIY Home Staging
In summary, techniques like decluttering, strategic furniture placement, fresh paint, and good lighting can enable you to showcase the best features of your living space. The cleaning, depersonalising, and repairing touches create a welcoming, well-maintained environment that appeals to buyers on an emotional level. When you view your home through the critical eye of a prospective purchaser, carrying out these staging tasks allows you to address issues you may have overlooked yourself.
The Ease of Self-Staging
While professional staging services deliver fantastic results, this blog has hopefully shown that effective DIY staging is very achievable without spending a fortune. By following the guidance, you can transform the look and feel of your rooms using mostly items you already have at home. A few handy tips on painting, lighting arrangements, and accessorising can make spaces appear brighter, more spacious, and ready to move into.
Professional Support Available
While DIY staging can undoubtedly enable you to showcase your home at its best, don’t hesitate to call in the experts at Beau Property Staging if you need a little extra help. Whether you want consultancy and advice or a full home staging service, their specialists have extensive experience transforming properties across Kent, Sussex, and Tunbridge Wells.